
Japan Etiquette Guide: Navigating Sento, Shrines, and Transit
By Tour in Japan editors · Updated
Master the unspoken rules of Japanese bathhouses, shrines, and transit to travel with confidence and respect across Japan.
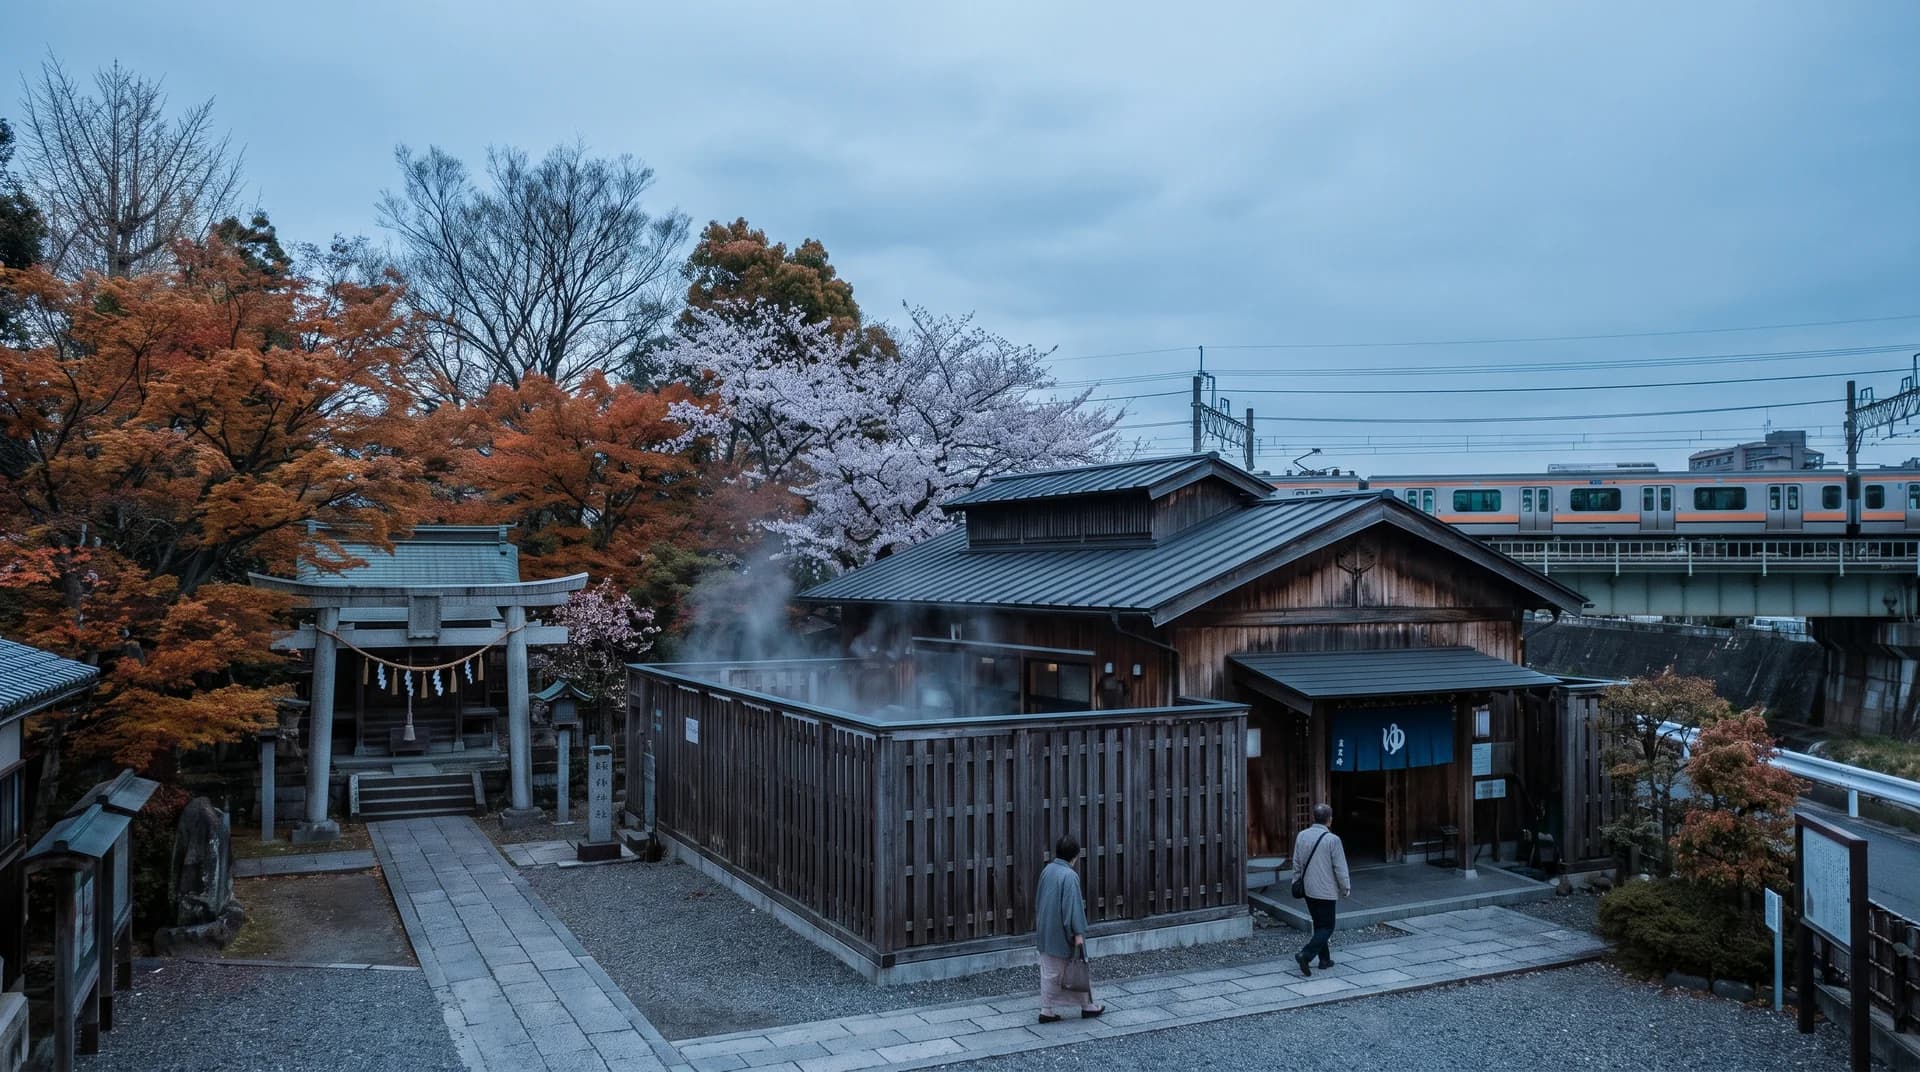
The scent of sulfur and cedar fills the air as you step into a neighborhood sento, the steam blurring the lines between the scrubbing stations and the deep soaking tubs. For many independent travelers, this is the moment where the excitement of a trip meets the anxiety of the unknown. You wonder if you are scrubbing long enough, if your towel is in the right place, or if you are inadvertently breaking a rule that locals hold dear. Navigating these social nuances is the difference between feeling like a disruptive intruder and feeling like a welcome guest.
This guide to Japan etiquette and logistics is designed for the independent traveler who wants to move beyond the surface-level tourist experience. Whether you are staying in a traditional ryokan, navigating the chaotic intersections of Shibuya, or visiting a quiet shrine in Kyoto, there is a specific set of social expectations that govern every interaction. This is for the visitor who prefers a quiet neighborhood bath over a luxury spa and who wants to ensure their presence in Japan is respectful and seamless. We will cover the practicalities of the public bath, the strict boundaries of sacred spaces, and the logistical realities of the transit system, ensuring you can navigate the country without the fear of a social faux pas.
Essential Highlights & Local Itinerary
While this guide focuses on etiquette, these experiences are the best places to put your new knowledge into practice. I recommend spending your first few days in Tokyo to get your bearings with the transit system before heading to the more traditional atmosphere of Kyoto.
The Neighborhood Sento (Tokyo/Osaka)
Public bathhouses, or sento, are community hubs found in almost every residential district. Unlike the high-end onsen found in resort towns, sento are utilitarian and affordable. To find one, look for a tall chimney (the traditional sign of a bathhouse) in residential areas of districts like Sumida or Taito in Tokyo.
How to get there: Most are accessible via local walking routes from JR Yamanote Line stations. Use Google Maps to search for "Sento" (銭湯) in your specific neighborhood. In Tokyo, look for the "Sento Map" provided by local ward offices which often list the oldest establishments.
Best time to visit: Late evening (8:00 PM to 10:00 PM) is a local favorite for winding down. Spend about 60 to 90 minutes here. Avoid peak hours (5:00 PM to 7:00 PM) when families and retirees crowd the facilities.
Cost: Entry typically ranges from ¥480 to ¥520 / ~$3 to $3.50 USD. Small towels can be rented for ¥100 / ~$0.70 USD. Milk from the vending machine post-bath usually costs ¥120 / ~$0.80 USD.
The Protocol: Step-by-Step
- The Entrance: Pay your fee at the front desk. You will be directed to the locker room (Men's or Women's).
- The Undressing: Remove all clothing and accessories. Place them in your assigned locker. Remember: you enter the bathing area completely naked. No swimsuits are permitted.
- The Pre-Wash (Crucial): Before you even touch the bathwater, you must wash. Find an open stool and shower head. Sit on the stool—do not stand while scrubbing, as you may splash others. Use the provided soap and shampoo to scrub every inch of your body.
- The Rinse: Ensure all soap suds are completely rinsed off. The bathwater is shared and must remain pristine.
- The Soak: Enter the tub slowly. If there is a temperature gradient (e.g., a 40°C tub and a 42°C tub), choose based on your tolerance. Sit quietly.
- Towel Management: You will have a small "washcloth" (tenugui). This should never enter the bathwater. Most locals fold it and balance it on top of their heads to keep it dry and cool their scalp.
- The Exit: Once finished, rinse any bath salts or minerals off your skin with a quick shower. Dry off as much as possible in the bathing area before stepping back into the locker room to avoid dripping water on the floor.
Kyoto's Sacred Shrines (Kyoto)
Visiting shrines like Fushimi Inari-taisha or the smaller neighborhood shrines requires a shift in mindset. These are not parks or photo studios; they are active places of worship.
How to get there: Fushimi Inari is accessible via the JR Nara Line (Inari Station). Smaller shrines are scattered throughout the Gion and Higashiyama districts, best reached by Kyoto City Bus or walking. If visiting the Silver Pavilion (Ginkaku-ji), take the 5 or 17 bus from Kyoto Station.
Best time to visit: Early morning (6:00 AM to 8:00 AM) to avoid the crowds and experience the stillness of the space. Spend 1 to 3 hours depending on the site. For Fushimi Inari, hiking to the summit takes roughly 2-3 hours round trip.
Cost: Most shrines are free to enter, though you may spend ¥500 / ~$3.50 USD on an omamori (protection amulet) or ¥100 / ~$0.70 USD for a coin offering.
The Protocol: Step-by-Step
- The Torii Gate: As you approach the entrance, bow once slightly before passing through the torii gate. Walk on the sides of the path, as the center is traditionally reserved for the deity.
- The Purification (Chozuya): Find the water basin. Take the ladle with your right hand and pour water over your left hand. Switch hands and rinse the right. Pour some water into your cupped left hand to rinse your mouth (do not touch the ladle directly to your lips), then rinse your left hand one last time.
- The Offering: Approach the main altar. Gently toss a coin (¥5 is considered lucky) into the offering box.
- The Prayer: Bow twice deeply, clap your hands twice to wake the deity, offer your silent prayer, and finish with one final deep bow.
- The Exit: When leaving through the torii gate, turn back toward the shrine and bow one last time.
Modern Warning: Recently, there has been significant local pushback against tourists filming dance videos or performing choreographed routines at shrine entrances. This is seen as a profound lack of respect. Keep your voice low and avoid using tripods in high-traffic prayer areas.
The Suica/Pasmo Transit Experience (Nationwide)
Getting around Japan relies on the IC card system. Whether you use a physical card or a digital version on your phone, these cards are the heartbeat of Japanese logistics.
How to get there: Purchase cards at any JR East ticket machine or add them to your Apple Wallet/Google Pay. For iPhone users, you can add a Suica or Pasmo directly in the Wallet app without needing a physical card.
Best time to use: Throughout your entire trip. These cards work for trains, buses, and even vending machines or convenience stores (konbini).
Cost: There is usually a ¥500 / ~$3.50 USD refundable deposit for physical cards. You then load them with credit (e.g., ¥2,000 to ¥5,000 / ~$13.50 to $33.50 USD) as needed. Ensure you have a balance of at least ¥1,000 to avoid the hassle of topping up at every single station.
The Protocol: Step-by-Step
- The Gate: Hold your card or phone over the blue IC reader. Do not tap too hard; a light touch is sufficient. Ensure your phone screen is awake if using a digital card.
- The Platform: Stand in the designated queues marked on the floor. Do not cut the line. Wait for passengers to exit the train completely before attempting to board.
- On-Board Conduct: Switch your phone to "Manner Mode" (silent). Talking on the phone is strictly taboo on Japanese trains. Keep conversations in a hushed whisper.
- The Exit: Tap out at the destination gate. If your balance is insufficient, there are "Fare Adjustment" machines (Norikoshi) located just before the exit gates where you can add the remaining few yen needed to exit.
Logistical Note: Be aware that the iconic Suica Penguin mascot is scheduled for retirement on March 31, 2027, with new characters taking its place. While the mascot changes, the utility remains the same: efficiency and silence.
Practical Details & Dual-Currency Budget
Planning your timing is just as important as knowing the etiquette. Japan's geography makes it susceptible to specific weather patterns that can disrupt an entire itinerary.
Best Season & Weather
Spring (March to May) and Autumn (September to November) are the peak seasons due to cherry blossoms and maple leaves. However, be extremely cautious about September. This is the peak season for typhoons. Cyclonic storms frequently approach Japan during this month, leading to severe wind, flooding, and the cancellation of Shinkansen (bullet train) services.
Pro Tip: If traveling in September, always have a "rainy day" indoor itinerary (such as the Tokyo National Museum or the teamLab Borderless exhibit) and monitor the Japan Meteorological Agency (JMA) website daily. Carry a sturdy, compact umbrella; while you can buy cheap ones at 7-Eleven for ¥600, a wind-resistant one is better for typhoon-season gusts.
Budget Breakdown
Costs vary wildly depending on your style, but for independent travelers, these are the daily benchmarks:
Budget Traveler: ¥7,000 to ¥10,000 / ~$47 to $67 USD per day.
- Accommodation: Capsule hotel or hostel bed (¥3,000 - ¥4,000).
- Food: Convenience store meals (onigiri, bento) and budget chain gyudon shops like Yoshinoya (¥2,000 - ¥3,000).
- Transit: Local subway/bus hops (¥1,000 - ¥2,000).
Mid-Range Traveler: ¥15,000 to ¥25,000 / ~$100 to $167 USD per day.
- Accommodation: Business hotel (like APA or Toyoko Inn) (¥8,000 - ¥12,000).
- Food: One seated restaurant meal per day, plus a cafe visit (¥4,000 - ¥7,000).
- Transit: Local transit plus occasional taxi rides for convenience (¥2,000 - ¥4,000).
Transit & Access
For airport connections, the Narita Express (N'EX) or the Keisei Skyliner are the standard routes into Tokyo. The Skyliner is faster (reaching Ueno in ~40 mins), while N'EX is better for those staying near Shinjuku or Shibuya.
For city travel, rely on the Suica or Pasmo cards. While the JR Pass was once a default, the recent price hikes (up to 70% in some cases) mean it is only cost-effective if you are doing extensive long-distance travel (e.g., Tokyo to Hiroshima and back within 7 days). For short-distance city hops, stick to IC cards and the occasional subway day pass (Tokyo Subway Ticket for 24/48/72 hours is a great value for heavy sightseers).
Where to Eat & Local Food Secrets
Eating in Japan is an exercise in observation. From the standing sushi bars of Ginza to the narrow alleys of Omoide Yokocho, the rules of the table are subtle but strict.
The Izakaya Experience
Izakayas are Japanese pubs where the focus is on small plates and drinks. Look for these in "Yokocho" (narrow alleys) in Shinjuku or Osaka's Dotonbori area. These are often smoke-filled, loud, and incredibly atmospheric.
What to try: Yakitori (grilled chicken skewers), Karaage (Japanese fried chicken), and Edamame. For drinks, try a Highball (whisky and soda) or a chilled Sake.
Typical Price: ¥3,000 to ¥5,000 / ~$20 to $33 USD per person for a full meal with drinks. Be aware of the "Otoshi" (table charge), which is a small mandatory appetizer served to every guest, usually costing ¥300 to ¥500.
Etiquette:
- The First Drink: It is common to start with a "first drink" (usually a beer) for everyone at the table before ordering food.
- Pouring Rituals: When pouring drinks for others, never pour your own glass; wait for your companion to do it, and return the favor. Hold the bottle with two hands to show respect.
- The Bill: Usually, the bill is paid at the register near the exit rather than at the table.
Convenience Store (Konbini) Gourmet
For the independent traveler on a budget, Lawson, 7-Eleven, and FamilyMart are not just stores; they are high-quality eateries.
What to try: Tamago Sando (egg salad sandwich), Onigiri (rice balls—try the tuna mayo), and the seasonal limited-edition sweets.
Typical Price: ¥150 to ¥500 / ~$1 to $3.50 USD per item. A full lunch (bento, drink, and dessert) rarely exceeds ¥1,200 / ~$8 USD.
Etiquette:
- Speed: Be fast. Konbini lines move with military precision. Have your payment method ready before you reach the cashier.
- Plastic Bags: Japan charges for plastic bags (usually ¥3 to ¥5). Bring your own reusable bag to avoid the fee and reduce waste.
- Payment: If you use a physical Suica card, you can tap it at the reader for a seamless checkout.
Ramen Shops and Ticket Machines
Many authentic ramen shops use a vending machine system at the entrance. You pay first, receive a ticket, and hand that ticket to the chef.
Typical Price: ¥800 to ¥1,200 / ~$5.50 to $8 USD per bowl. Extra toppings like Ajitama (soft-boiled egg) usually cost an additional ¥100.
Etiquette:
- The Slurp: Slurping is not only allowed; it is encouraged. It helps cool the noodles and aerates the broth, enhancing the flavor. It is also a sign that you are enjoying the meal.
- The Space: Most shops are tiny. Avoid leaving your luggage or large bags in the middle of the narrow walkway; most shops have dedicated hooks or baskets under the counter.
- The Finish: It is polite to eat all the noodles, though drinking every drop of the heavy tonkotsu broth is optional.
Essential Traveler Checklist
- Cash is still king: While IC cards and credit cards are more common, carry ¥10,000 / ~$67 USD in cash at all times. Small shrines, rural guesthouses, and old-school sentos often do not accept digital payments.
- Pocket Wi-Fi or eSIM: Order an eSIM (like Airalo or Ubigi) before landing to ensure you have instant access to maps and translation tools. If you are traveling in a group, a rental Pocket Wi-Fi from the airport is more cost-effective.
- Dress Code: For shrines and temples, modest dress is preferred. While there is no strict dress code like in some Southeast Asian temples, avoid overly revealing clothing (like very short shorts or sleeveless tops) to remain respectful.
- Waste Management: If staying in an Airbnb, be aware that Japan has incredibly strict waste separation rules. Separate burnables, plastics, PET bottles (remove the cap and label first), and cans according to the local municipality's specific calendar. Putting trash in the wrong bin can lead to a stern note from your host or neighbors.
- Basic Phrases: You do not need fluency, but these five phrases will solve 90% of your interactions:
- "Sumimasen" (Excuse me/Sorry)
- "Arigato gozaimasu" (Thank you - formal)
- "Onegaishimasu" (Please)
- "Kore o kudasai" (I'll take this one)
- "Toire wa doko desu ka?" (Where is the toilet?)
For more weekly travel updates and hidden gem guides, sign up for our newsletter at /newsletter.
Stay Connected in Japan
Yesim eSIMs work on arrival — no physical SIM needed. Japan data plans from $5.